
Creating Patterns
Amigurumi designer: build, colour and read your pattern
Learn the amigurumi editor: select components, shape custom pieces, colour rounds, set measured gauge and read your generated crochet pattern.
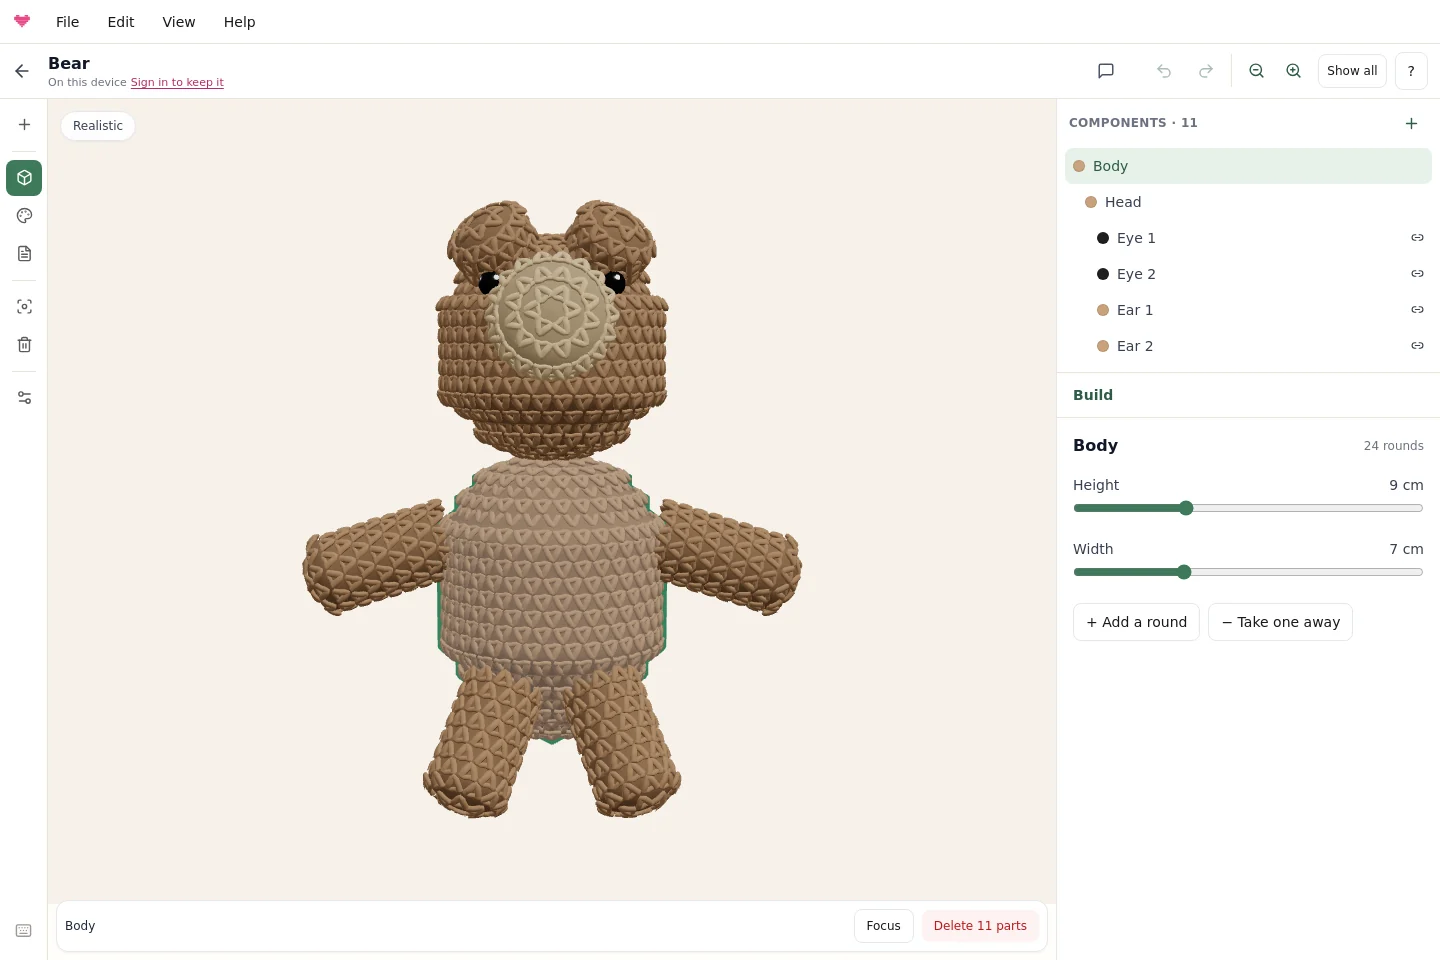
The amigurumi designer lets you assemble a crochet animal, create your own component shapes and get written instructions for the result. Its three workspaces follow the order of the work: Build for shape and placement, Colour for yarn colours, and Pattern for the instructions.
Watch the illustrated workspace walkthrough, or follow the steps below.
Start with a bear or your own components
Open the designer and choose Bear, Bunny or Cat to edit a complete animal. Create from your own components starts an empty creation. The elephant example and curved-tail starter show custom recipes you can inspect and change.
Drag the empty background to turn the model. Scroll or pinch to zoom. The project name and save status are at the top.
Build: select a component, then edit its properties
Select a piece in the model or in the component list on the right. Its properties appear below the list. On phones, Choose component expands the list above the inspector.
Ready-made parts have size controls in centimetres. Custom components have shaping sections and an editable outline. Learn custom shaping to create a piece with its own widths, lengths and finish.
Drag an attached part over its parent to change its placement. Linked pairs update together; unlink a pair to edit the two pieces independently. The selected component’s actions include deletion. Deleting can also remove a linked twin and attached children; check the affected-piece count and use Undo to restore the edit if needed.
Add components in their own browser
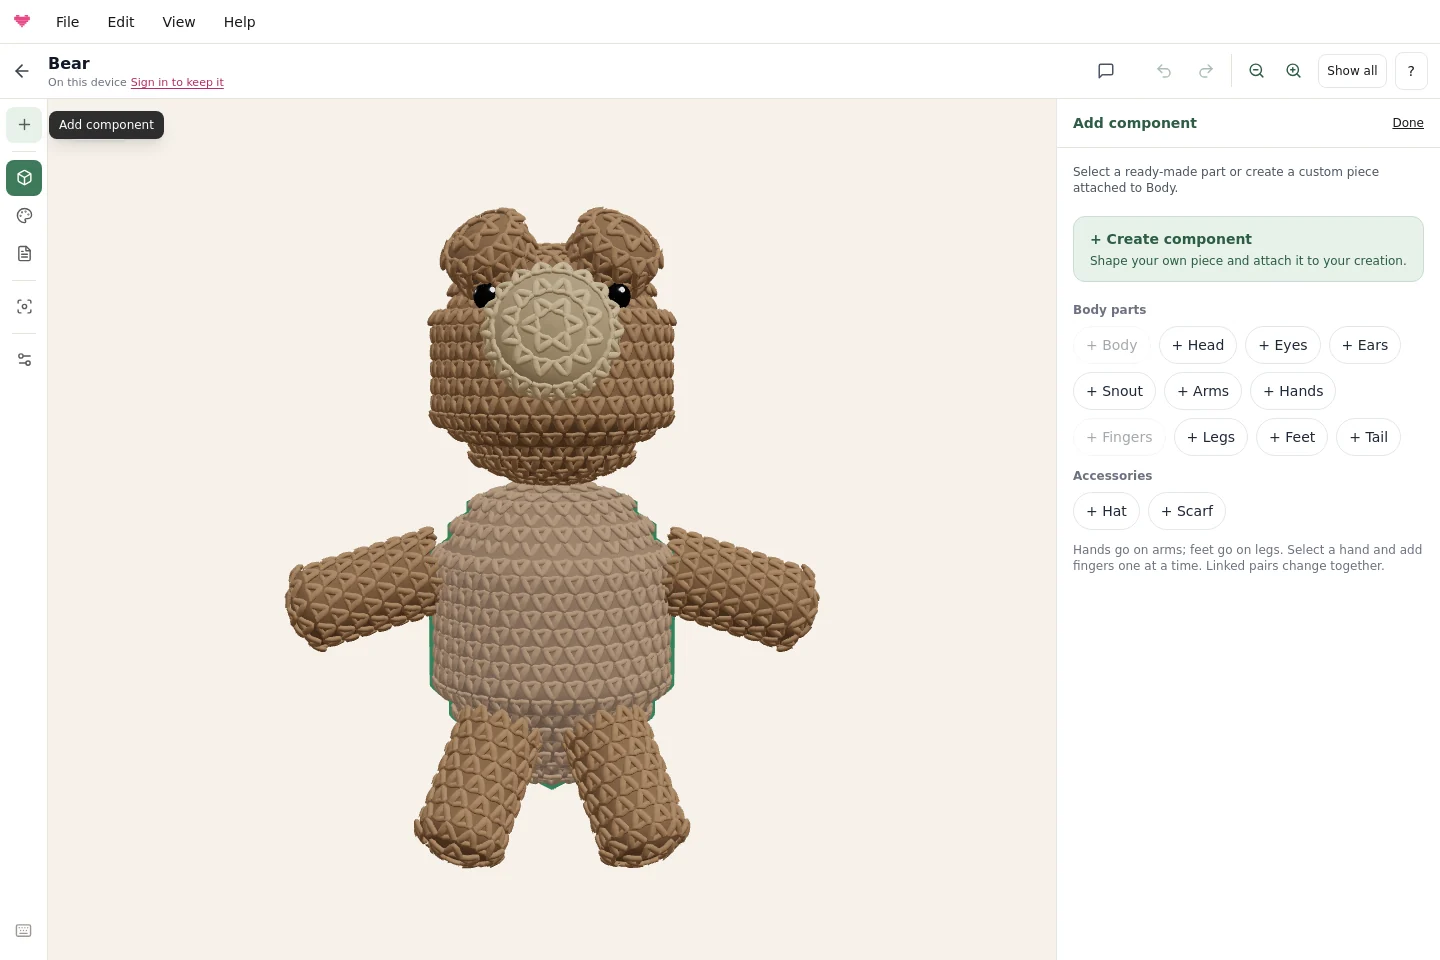
Add component (+) opens a browser for creating a component, adding a saved recipe or choosing a ready-made part. Select the parent piece before adding an attachment. Adding a piece closes the browser and opens that piece’s properties.
Colour: paint a piece or selected rounds
Choose Colour, select a component, then choose Whole piece or Rounds. Scarves use Rows. Select a range and choose a swatch; the palette stays visible while the round list scrolls.
Whole-piece painting replaces existing stripes. Linked pairs change together until unlinked. Individual-stitch painting is not available yet. Follow the colour changes guide for a bear with a coral stripe across rounds 8–11.
Set yarn and gauge for the project
Open File → Yarn and gauge, or use the desktop yarn settings button. Choose a yarn estimate or enter measured stitch and round counts. Press Apply measured gauge to use your measurements.
Custom components keep their stitch recipe and change estimated size; ready-made parts retain their size settings and recalculate counts. The gauge guide explains how to measure a sample and check the result.
Pattern: read the finished instructions
Open Pattern for the instructions, stitch counts, colour changes and assembly notes. Standard round components use US single crochet with increases and decreases; curved recipes can include half double crochet. Read the abbreviations for your particular creation.
Tap a pattern round to highlight it on the model. Editing belongs in Build and Colour. Copying and printing the complete pattern use the app’s export flow: sign in to claim your first free full pattern; subsequent unlock options are shown in the app.
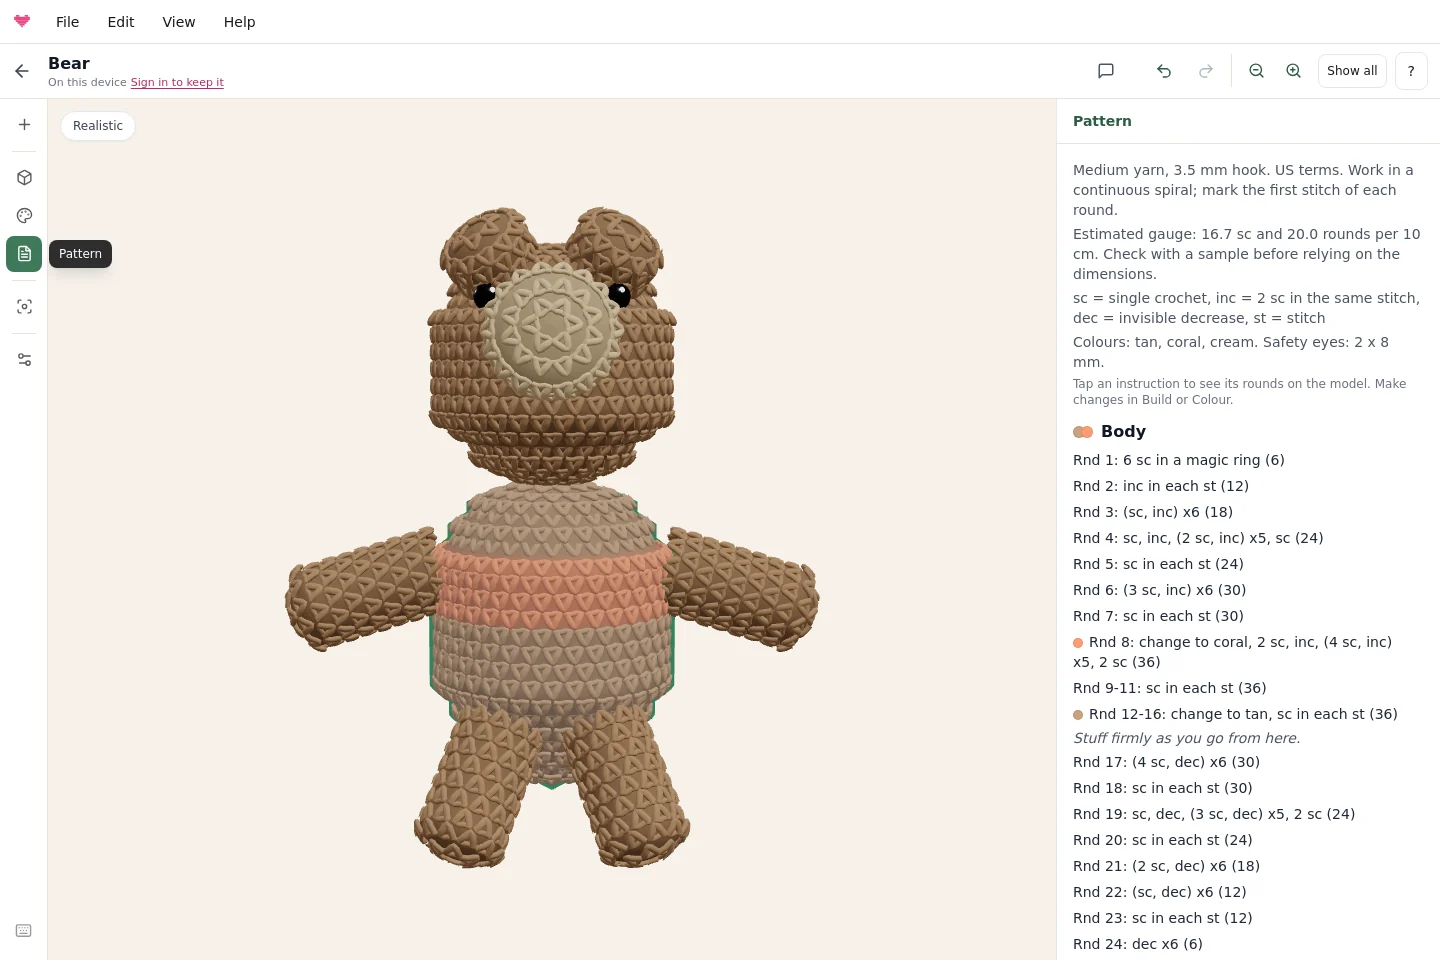
The preview estimates fabric shape. Check your gauge, crochet a sample and review assembly before treating a new design as a finished, tested pattern.
Save and work on a phone
Guest designs stay in this browser on this device. Sign in to save projects to your account and reopen them on another device; check the displayed save status. My components is a separate device-local recipe library.
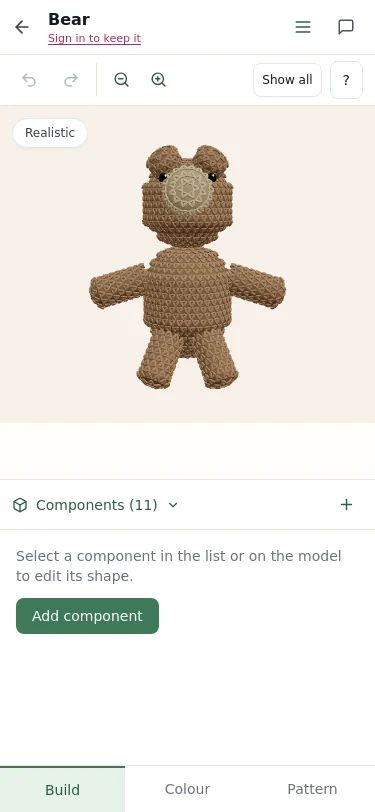
On a phone, use the bottom Build / Colour / Pattern navigation and the editor menu for File, Edit, View and Help. The same component-selection and editing actions are available.
Useful keyboard shortcuts
| Shortcut | Action |
|---|---|
| Ctrl/Cmd+Z | Undo |
| Ctrl/Cmd+Shift+Z | Redo |
| Delete or Backspace | Delete the selected component and dependent pieces |
| Escape | Close an auxiliary panel or deselect |
| F | Frame the selected component |
| Home | Frame the whole creation |
| Shift+D | Duplicate a custom component |
| ? | Open the shortcut guide |
Typing in a text field keeps normal text-editing behaviour. Open Help → Keyboard shortcuts for the complete guide.
Start designing, explore free bear, bunny and cat recipes, or return to the amigurumi pattern generator overview.
Frequently asked questions
Can I design my own shapes?
Yes. Create a custom component and edit its shaping sections and outline. The preview and pattern update from the same recipe.
Can I colour individual stitches?
The current Colour workspace paints whole pieces or complete rounds and scarf rows. Individual-stitch painting is not available yet.
Does the preview guarantee the finished shape?
No. It estimates the surface from the crochet recipe and gauge. Yarn, tension and stuffing affect the result, so check a physical sample.
Try it yourself
The Knytstudio editor is free to use in your browser. No install, no signup needed to start.
Open the editor